Blog
From Beach to Wrist: Making Your Own Sea Glass Bracelet
From Beach to Wrist: Making Your Own Sea Glass Bracelet
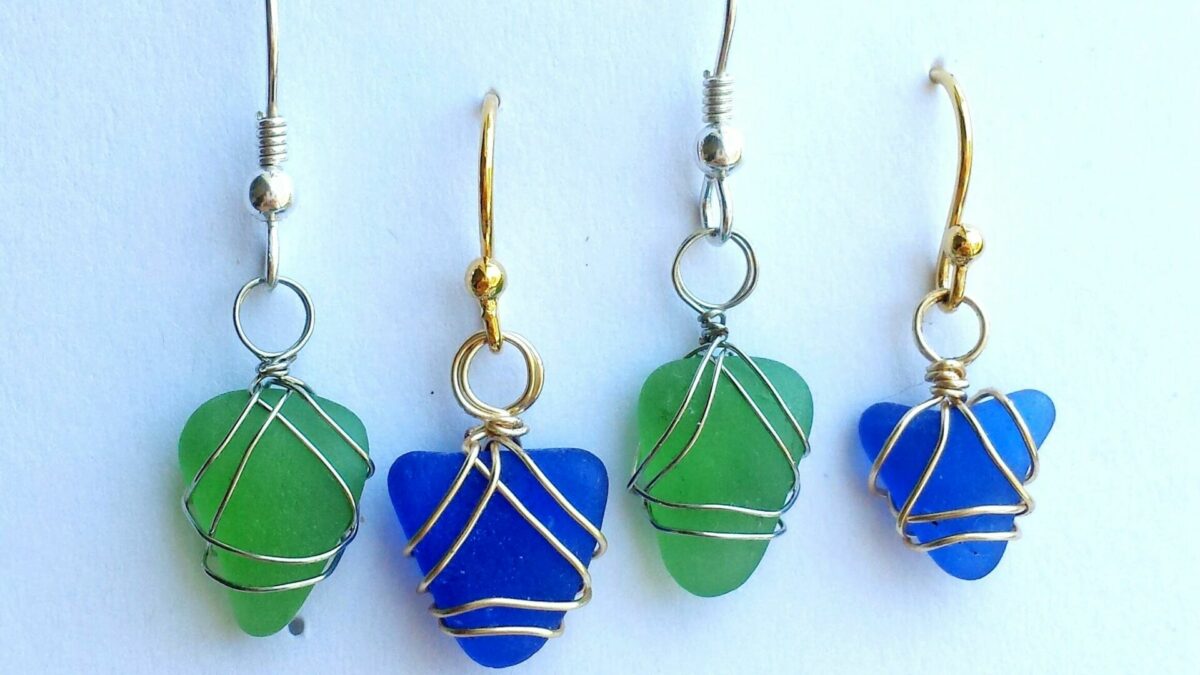
Sea glass is a beautiful and unique material that can be found on beaches all over the world. It is created when glass bottles, jars, and other objects are discarded into the ocean and are tumbled by the waves and sand until they become smooth and frosted. Sea glass comes in a variety of colors and shapes, making it a popular material for jewelry making. In this article, we will provide step-by-step instructions for creating your own sea glass bracelet.
Crafting Your Bracelet: Step-by-Step Instructions for Creating a Unique Sea Glass Bracelet
Step 1: Gather Your Materials
The first step in creating your sea glass bracelet is to gather all of the necessary materials. You will need sea glass beads, jewelry wire, crimp beads, jump rings, a clasp, and jewelry pliers. You can purchase these materials at a craft store or online. It is important to choose sea glass beads that are similar in size and shape to ensure that your bracelet looks cohesive.
Step 2: Measure Your Wrist
Before you begin stringing your sea glass beads, you will need to measure your wrist to determine the length of your bracelet. Use a flexible measuring tape to measure your wrist and add an additional inch to allow for the clasp and jump rings. This will ensure that your bracelet fits comfortably on your wrist.
Step 3: String Your Beads
Once you have measured your wrist, you can begin stringing your sea glass beads onto the jewelry wire. Start by adding a crimp bead to the end of the wire and then add a jump ring. This will serve as the connection point for your clasp. Next, begin adding your sea glass beads in the desired pattern. You can create a simple pattern or mix and match colors and shapes to create a more complex design.
Step 4: Secure Your Beads
After you have strung all of your sea glass beads, you will need to secure them in place. Add another crimp bead to the end of the wire and then thread the wire through the jump ring and back through the crimp bead. Use your jewelry pliers to crimp the bead, securing the wire in place. Trim any excess wire.
Step 5: Add Your Clasp
Now that your sea glass beads are secured in place, you can add your clasp. Use your jewelry pliers to attach one end of the clasp to the jump ring at the end of your bracelet. Repeat this process on the other end of the bracelet, using a jump ring to attach the other end of the clasp.
Step 6: Finishing Touches
Once your clasp is attached, you can add any finishing touches to your bracelet. This could include adding additional jump rings to adjust the length of your bracelet or adding a charm or other embellishment to personalize your design.
Step 7: Care and Maintenance
To ensure that your sea glass bracelet lasts for years to come, it is important to take proper care of it. Avoid exposing your bracelet to harsh chemicals or extreme temperatures, as this can damage the sea glass beads. You can clean your bracelet with a soft cloth and mild soap and water.
Step 8: Enjoy Your Creation
Now that your sea glass bracelet is complete, it is time to enjoy your creation. Wear it with pride and show off your unique style. Your sea glass bracelet is a one-of-a-kind piece of jewelry that is sure to turn heads and spark conversation.
Conclusion
Creating your own sea glass bracelet is a fun and rewarding project that allows you to showcase your creativity and style. By following these step-by-step instructions, you can create a unique piece of jewelry that is sure to become a favorite in your collection. So, gather your materials and get started on your sea glass bracelet today!


